
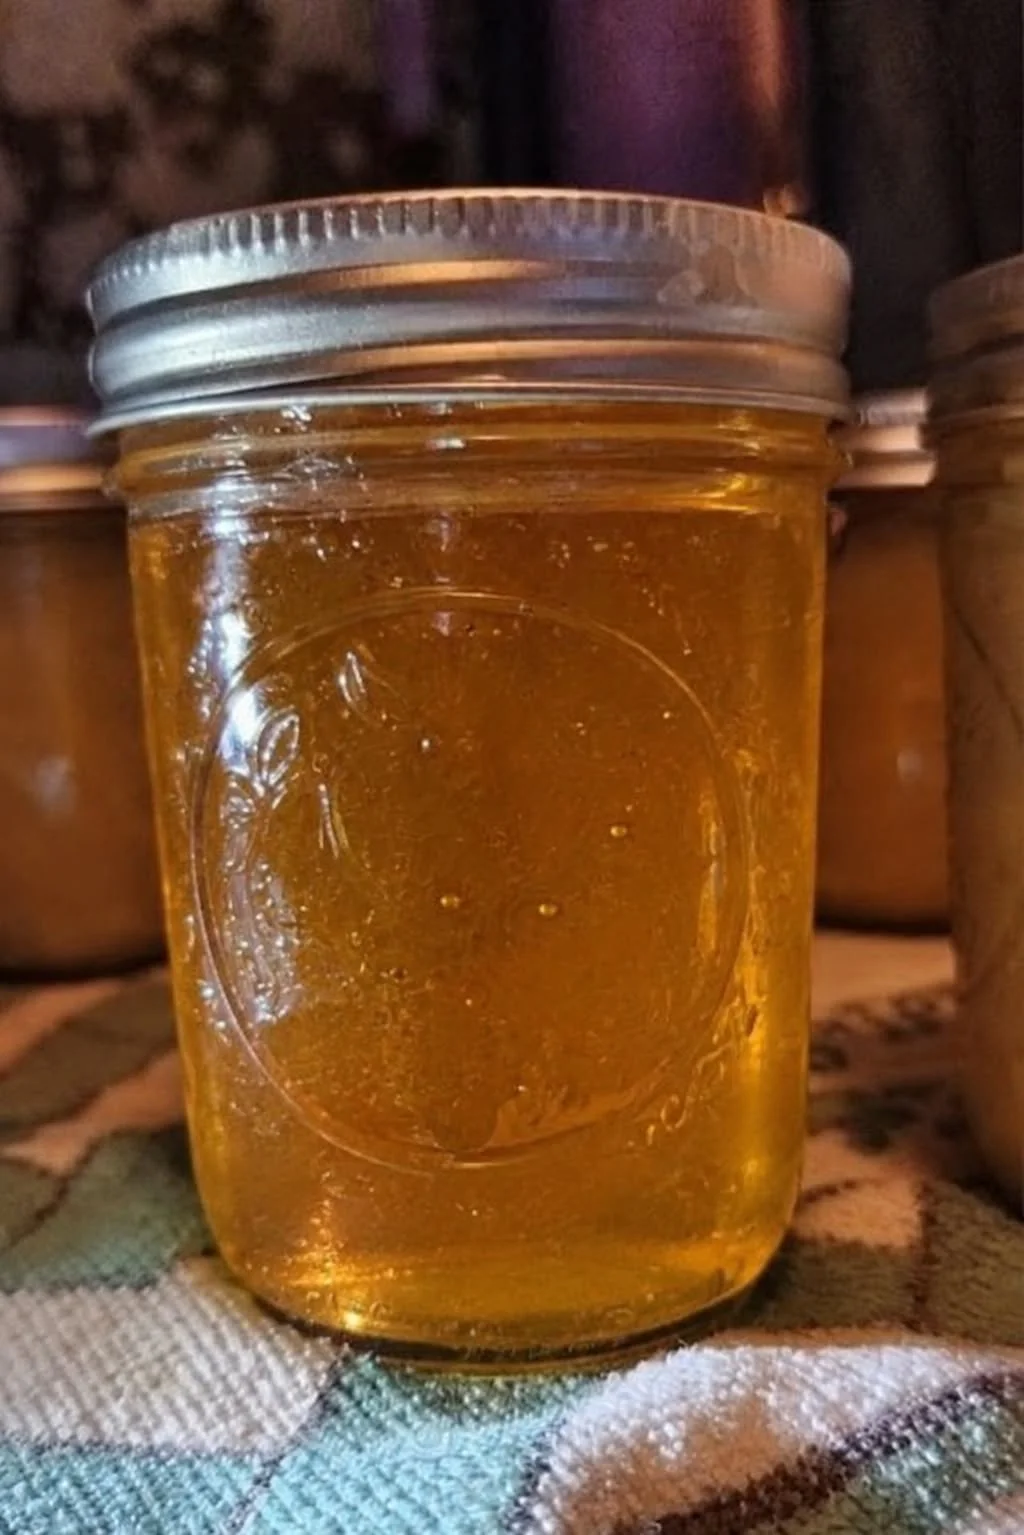
Homemade Creamed Honey is a naturally sweet, smooth, and spreadable treat that transforms ordinary liquid honey into a thick, creamy delight. With its beautiful pale golden color and velvety texture, it is perfect for spreading on toast, fresh bread, pancakes, biscuits, muffins, and many other breakfast favorites. Unlike regular liquid honey, creamed honey contains tiny, fine crystals that give it a soft consistency without adding dairy cream or artificial ingredients.
The best part about making creamed honey at home is that you only need two ingredients: pure liquid honey and finely crystallized honey to use as a starter. You do not need complicated equipment, artificial colors, preservatives, or special cooking skills. The key is choosing a good-quality starter and allowing the honey to crystallize slowly under suitable temperature conditions.
Whether you want a delicious breakfast spread, a homemade kitchen staple, or a thoughtful edible gift, this homemade creamed honey recipe is an easy and rewarding project. With a little patience, you can prepare a batch of smooth, naturally sweet honey that your whole family can enjoy.
Recipe Overview
- Preparation Time: 15 minutes
- Setting Time: Several days to 2 weeks or longer
- Total Active Time: Approximately 15 minutes
- Difficulty: Easy
- Main Ingredient: Pure honey
- Yield: Approximately 4½ cups before any volume changes from mixing and settling
- Category: Homemade Spreads, Breakfast
- Storage: Cool, dry place in a tightly closed container
Ingredients for Homemade Creamed Honey
This recipe uses a simple combination of liquid honey and finely crystallized honey. The starter encourages the formation of small, uniform crystals, which help create the characteristic smooth texture.
Ingredients
- 4 cups (approximately 1 kg) pure liquid honey
- ½ cup finely crystallized honey, used as a starter
- Clean, completely dry glass jars with lids
Important: Choose starter honey with a fine, smooth crystal texture rather than large, gritty crystals. Do not add milk, dairy cream, flour, water, or ordinary granulated sugar. These ingredients are unnecessary for genuine creamed honey.
Equipment Needed
Before starting, gather the following equipment:
- A large, clean mixing bowl
- A silicone spatula or wooden spoon
- A food thermometer
- Clean, dry glass jars with lids
- A measuring cup
- A cool place with a stable temperature for setting
Using clean, dry equipment helps prevent moisture from entering the honey and supports good storage quality.
Step-by-Step Instructions
Step 1: Prepare the Honey
Begin by selecting good-quality pure honey from a trusted supplier. Choose honey without added syrups, flavorings, or other ingredients. The natural flavor of the honey will determine the taste of your finished spread.
If your honey contains small pieces of wax or other particles, strain it using a clean, suitable strainer before starting.
Check your mixing bowl, spatula, thermometer, and glass jars to make sure they are clean and completely dry. Even a small amount of unwanted moisture can affect honey quality, so avoid introducing water during preparation.
If the liquid honey is already easy to stir, you can use it directly without warming.
Step 2: Prepare the Starter Honey
Measure approximately half a cup of finely crystallized honey. This will serve as the starter for your creamed honey.
The starter contains tiny crystals that encourage the liquid honey to crystallize in a similar pattern. When these fine crystals are distributed throughout the mixture, they help promote a smooth, spreadable consistency.
Inspect the starter before using it. If it contains large, crunchy crystals, the final honey may have a grainy texture. A starter with a fine, creamy consistency is preferable.
Keep the starter at room temperature while preparing the liquid honey so that both ingredients are easier to combine.
Step 3: Gently Warm the Liquid Honey if Needed
If your liquid honey is too thick to mix comfortably, place its container in a warm-water bath. Allow it to warm gently until it becomes easier to stir.
Avoid boiling the honey or exposing it to excessive heat, which can affect its natural flavor and aroma.
Once the honey becomes fluid, remove it from the warm-water bath and allow it to cool. Check the temperature with a thermometer before adding the starter. The mixture should not be hot; follow a suitable creamed-honey process and keep the temperature stable during preparation.
If the honey is already fluid and easy to stir, skip this step entirely.
Step 4: Mix the Liquid Honey and Starter
Pour the prepared liquid honey into a clean mixing bowl. Add the half cup of finely crystallized starter honey.
Using a spatula or wooden spoon, stir slowly until the starter is distributed evenly throughout the liquid honey.
Mix thoroughly but gently. The aim is to spread the fine crystals throughout the mixture without introducing excessive air bubbles.
Continue stirring until the honey looks uniform and no large clumps of starter remain. The mixture may still look relatively fluid at this stage, which is normal. The thick, creamy consistency develops as crystallization progresses.
Step 5: Fill the Glass Jars
Carefully transfer the honey mixture into clean, dry glass jars. A wide-mouth jar can make filling and later serving easier.
Leave a little space at the top of each jar and wipe the rims with a clean, dry cloth if necessary.
Close each jar with a suitable lid. Smaller jars are convenient for everyday use, portioning, and homemade gifts.
If you want the attractive appearance of pale golden honey in clear glass jars, choose transparent containers that allow the finished texture to be seen.
Label each jar with the preparation date so you can keep track of the setting time.
Step 6: Allow the Honey to Set
Place the sealed jars in a cool location with a stable temperature. A temperature around 14°C (57°F) is commonly used for controlled creamed-honey crystallization.
Leave the jars undisturbed while the fine crystals develop. Depending on the honey’s floral source, composition, starter quality, and temperature, the process may take several days to two weeks or longer.
Avoid repeatedly opening, stirring, or moving the jars during this period. Changes in temperature can affect the speed and consistency of crystallization.
Gradually, the honey should become thicker, smoother, and easier to spread. The exact timing varies, so check the consistency rather than relying only on the calendar.
Step 7: Check the Texture
After several days, check a jar to see whether the honey has developed the desired consistency.
Properly prepared creamed honey should be thick, smooth, and spreadable rather than hard or noticeably gritty. It should hold its shape on a spoon while remaining easy to spread across bread.
If the honey is still liquid, it may need additional time or more suitable temperature control. If the crystals feel large, the starter may not have been sufficiently fine.
Once the desired texture develops, keep the jars tightly closed and store them in a cool, dry place.
Tips for Perfect Creamed Honey
Choose pure honey: Good-quality honey without added syrups provides the best starting point for this recipe.
Use a fine-crystal starter: The texture of the starter plays an important role in determining the smoothness of the finished honey.
Avoid excessive heat: Warm the honey gently only when necessary. High temperatures can alter its natural aroma and flavor.
Keep everything dry: Use completely dry utensils and jars, and avoid introducing water into the mixture.
Maintain a stable temperature: Consistent conditions encourage more predictable crystallization.
Be patient: Different varieties of honey crystallize at different rates because their natural sugar composition varies.
Avoid unnecessary stirring: Once the jars are filled, let the honey set undisturbed.
Choose convenient jar sizes: Small jars are easy to handle and make attractive homemade gifts.
How to Serve Homemade Creamed Honey
Homemade creamed honey is a versatile spread that can make simple meals feel special. Its thick consistency makes it convenient to spread without the dripping associated with liquid honey.
Here are some delicious ways to enjoy it:
- On toast: Spread it over warm toast for a simple, naturally sweet breakfast.
- With fresh bread: Pair it with homemade bread, dinner rolls, or sourdough slices.
- With pancakes and waffles: Add a spoonful on top for a sweet breakfast treat.
- On biscuits and muffins: Use it as a spread for freshly baked biscuits, muffins, and scones.
- In oatmeal: Stir a small amount into oatmeal or porridge for extra sweetness.
- With yogurt: Add a spoonful to plain yogurt and top with fresh fruit.
- On a snack platter: Serve it with cheese, crackers, and slices of fresh bread.
You can also combine creamed honey with a little butter when preparing a sweet spread for toast. Its natural honey flavor works well with both simple breakfasts and afternoon snacks.
How to Store Homemade Creamed Honey
Store your finished creamed honey in clean, tightly closed glass jars in a cool, dry place away from direct sunlight and heat sources.
Always use a clean, completely dry spoon when removing honey from a jar. Introducing moisture or food particles can affect its quality and storage stability.
Pure honey generally has a long shelf life when handled properly, although its texture may change over time. If the honey becomes slightly firmer or develops some visible crystals, this may be natural crystallization rather than spoilage.
However, if you notice signs of fermentation, an unusual odor, contamination, or other unexpected changes, do not consume the product.
Important safety note: Never give honey to children younger than 12 months because it can cause infant botulism.
Frequently Asked Questions
1. Is creamed honey made with cream or milk?
No. Genuine creamed honey contains no dairy cream or milk. Its creamy consistency comes from fine crystals formed by the natural sugars in honey.
2. Why does my honey become solid?
Honey naturally crystallizes over time. When crystallization produces fine, uniform crystals, the honey can become smooth and spreadable. Larger crystals may create a gritty texture.
3. Can I make creamed honey without starter honey?
Honey can crystallize naturally without a starter, but the process may be less predictable. A suitable fine-crystal starter helps encourage a more uniform texture.
4. Can I add sugar or water to creamed honey?
For this genuine creamed-honey recipe, use pure honey and an appropriate crystallized-honey starter. Adding ordinary sugar or water is unnecessary and can affect the final product.
5. How long does homemade creamed honey take to set?
It may take several days to two weeks or longer. The timing depends on the type of honey, the quality of the starter, and the temperature during crystallization.
6. Why is my creamed honey grainy?
A grainy texture may result from a starter containing large crystals or from unsuitable crystallization conditions. Using a smooth, finely crystallized starter is one of the most important ways to encourage a creamy result.
7. Can I use any type of honey?
Many varieties of pure honey can be used, but their natural composition affects how quickly they crystallize and the texture they develop. Choose good-quality honey and a suitable fine-crystal starter for the best results.
Nutrition Information
The following values are estimates for one tablespoon of honey. Actual nutrition varies according to the type of honey and the serving size.
| Nutrient | Approximate Amount |
|---|---|
| Calories | 64 |
| Carbohydrates | 17 g |
| Protein | 0.1 g |
| Fat | 0 g |
| Fiber | 0 g |
| Sugars | 17 g |
| Sodium | 1 mg |
Final Thoughts
Homemade Creamed Honey is a simple and delicious way to transform pure honey into a smooth, spreadable treat. With good-quality liquid honey, a fine-crystal starter, clean jars, and careful temperature control, you can create a beautiful golden spread for everyday breakfasts and snacks.
Although the recipe requires patience while the honey sets, the preparation itself is straightforward. Once the fine crystals develop, the finished honey becomes a convenient alternative to runny honey for toast, pancakes, muffins, biscuits, and fresh bread.
Prepare a batch for your family, fill small jars for your kitchen, or make a thoughtful homemade food gift. With its natural sweetness and creamy texture, this homemade creamed honey recipe is a lovely addition to any kitchen.
